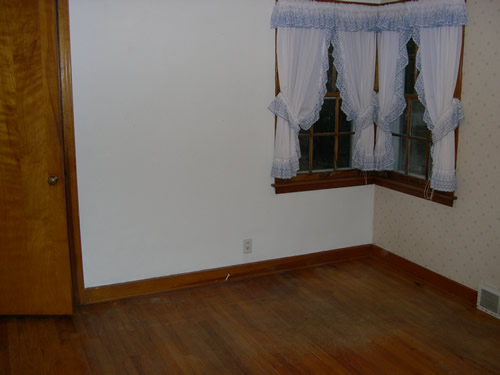
The first thing we did when purchasing our new home (post to follow - with pics) was to look at the floor. We knew it had some hardwood flooring, since the two downstairs bedrooms had hardwood floors. The main living room and dining room had carpet, but we peaked under and saw nice oak floors there as well.
Here's the living room before we started:
 Saturday:
 We ripped up the carpets, which was pretty easy. On the down side, the installers had done an excellent job of stapling everything in, and most of those staples stayed stuck pretty well into the floor.

Now, one staple is not hard to get out. Five staples aren't very difficult either. But 500 can be a real pain in the ass. Never-the-less, with some work, I got all the staples removed and was ready to sand.

When I went to Home Depot, my original plan was to rent a big drum sander. I'd heard that they can be pretty tough to handle, but they do the job. When I was there, I must have seemed like I really didn't know what I was doing, (OK, so that would have been an accurate assessment.) but they convinced me to get the orbital sander. It's much calmer and not as aggressive - great for novices like myself. I thought - great! This won't be nearly as bad as the books said!
Here's me with the orbital sander:

So after about 3 hours of sanding one 10x10 room over and over and over, the floors still had some finish between the boards. It was driving me nuts, so I went back to Home Depot and rented a hand-held belt sander - just to sand any of those low-lying parts that had varnish in them. After working for another hour or two with the belt sander, I still had this:

Now I'm really frustrated. With all of the prep work, renting the orbital, renting the hand-held belt sander, and driving to Home Depot like 23 times in an 8-hour period, I've now got to go back and rent the big drum sander and start over.
Sunday: So I head to Home Depot when it opens in the morning and rent the drum sander. It definitely is more aggressive, and I see an immediate difference. It's also easy to damage the floor, but sometimes hard to see that damage when you're sanding. I went get into too much detail, because if I don't point them out, maybe you won't see them!
Regardless, the sanding went smoothly (no pun intended - ha!). I collected 3 kitchen size garbage bags of sawdust from the 4 rooms. Hopefully I didn't take too much off, so the next time they can fix all my mistakes. After about 7-8 hours with the drum sander and an edge sander, (By the way, those things are beasts. We don't need to get into the story about the edger, the cord and shorting the outlet... no need to go there.) I'm finally done sanding. It looks so much better than when I started. I was pretty pumped.
 Monday:
 At this point, I'm a bit panicked, because I need to get the floors finished with at least 72 hours before the movers, and we were scheduled to have them in on Thursday. According to the directions on the polyurethane can, it takes at least 2-3 coats, with 4 hours necessary between coats.
Of course, between coats, you're also supposed to sand the floors so the polyurethane has better adhesion.
And of course, when you sand, you create more dust, which needs to be vacuumed, swept, and wiped off. (Unless you've sanded floors before, you have no idea how much dust is created. To prep the floors initially for finishing, I spent at least 2 hours vacuuming, sweeping, and wiping down all the walls.)
I had hoped that two coats would be enough, because I could do one in the early afternoon, let it dry, sand again, and then do another coat late at night. Unfortunately, I just didn't have the time to be careful with the finer grits. When you sand with the first rough paper, you take off the finish and a lot of wood, but you really scratch the wood. The later finer grits are just to smooth off your scratches.
I finished the second coat that night, and left feeling pretty good. I don't have any pictures of these stages, but it started taking shape. It was really soaking up the polyurethane, but I hoped that it would smooth out and be nice and shiny the next morning.
Tuesday: It was not to be. The second coat wasn't enough. But that was OK. The can said that it would take 2-3 coats, so I figured that I'd just do a third coat.
Unfortunately, the third coat soaked up just as much as my previous two did. Now I'm really panicking. How many coats am I going to need? I've now realized the horrible consequences of my earlier rush through sanding. Would I need 5 coats? Maybe 6? Would I need to sand again?
I was not a pretty sight.
After the third coat, I decided I was not ready to sand again and do all of that. I'd just put on a fourth coat, (it was about 10pm at night when I started) and leave it at that. If it didn't work, I really didn't know what I'd do. We changed our movers' date to Friday, so this better work.
(Incidentally, this was all over our Spring Break, and our lease was up on Sunday, so we didn't have many options.)
Wednesday: I was so nervous. I didn't even want to see the floor. I'd worked so hard the previous four days, and I was just exhausted. I really don't know what I would have done if it had needed a 5th coat. It would have made for a longer blog, though!
But it worked. It was so beautiful. I didn't know what to say. I was so happy. Euphoric.

Since then, we've had to touch up a few spots, and I've noticed some errors that weren't visible during the sanding process, but I'm pleased. There are definitely things I'd do differently, but I think it turned out pretty sweet for a first-timer.
For those who are interested, here's what I'd do differently:
- Fill all the cracks with something - sawdust, putty, whatever. After the finish has now dried, some of the cracks have little bits of finish that has bubbled up during the summer as the boards swell.
- Rent a drum sander from the start. If your floor has any significant wear or even slight warping, the orbital won't cut it.
- Be much more careful with the drum. Never let the drum rest on the floor - even for a split second.
- Take my time with the finer grit sandpaper. This would have eased so much stress later on. It really is the key to getting a good finish.
- Never do it under a time constraint. That was my biggest problem.
We love the floor now. Here's that same living room with one grandmother's rug, another grandmother's bookshelf, and a couple other touches of our own.

Here's another view of the same living room:

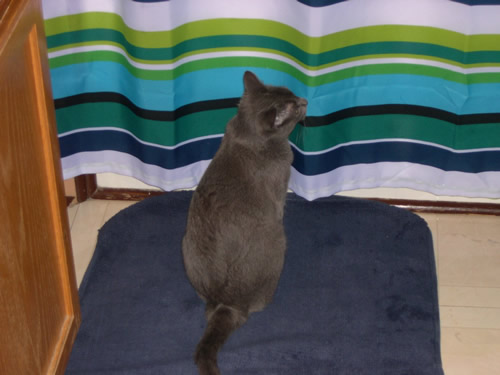
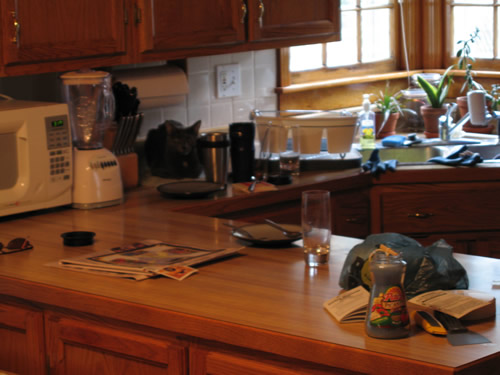
I hope this has been at least midly entertaining. Hey, at least there were pictures! Check out other upcoming posts for more home remodeling pictures, and just pictures of the house in general. And cats - lots of cats!